Radahn is one of the most misunderstood bosses in Elden Ring.
Most players assume this fight is about damage output or level.
It is not.
Radahn is a battlefield control boss, not a DPS check.
The real difficulty comes from understanding how his aggression interacts with summons, spacing, and arena pressure.
Once you understand that system, the fight becomes dramatically easier.
Why Players Actually Lose to Radahn
Most deaths fall into three categories:
1. Fighting Radahn directly
Players try to duel him like a normal boss.
This is the biggest mistake.
Radahn is designed to punish 1v1 behavior early in the fight.
2. Ignoring summons
Summons are not optional in this fight.
They are part of the intended difficulty balance.
Ignoring them makes the fight significantly harder.
3. Staying at mid-range too long
Radahn’s projectile phase is strongest at medium distance.
This is the “danger zone”.
The Real Mechanic: Aggro Rotation System
Radahn does not target players randomly.
He rotates aggression between:
- Player
- Summons
- Movement triggers in the arena
This creates a hidden system:
If summons are active, Radahn becomes less predictable but less focused on you.
If summons die early, Radahn becomes extremely aggressive toward the player.
Understanding this is the key to consistent wins.
Phase Structure Breakdown
Phase 1 – Arrow Pressure Phase
Radahn opens with long-range arrow attacks.
This phase is not about damage.
It is about movement survival.
Key Rule:
Do NOT try to approach directly.
Instead:
- Use horse mobility
- Use terrain to break line of sight
- Summon NPC allies immediately
Phase 2 – Battlefield Engagement
Once summons engage him, Radahn enters melee combat mode.
This is the “real fight”.
What changes:
- Increased melee aggression
- Large AoE attacks
- Fast repositioning jumps
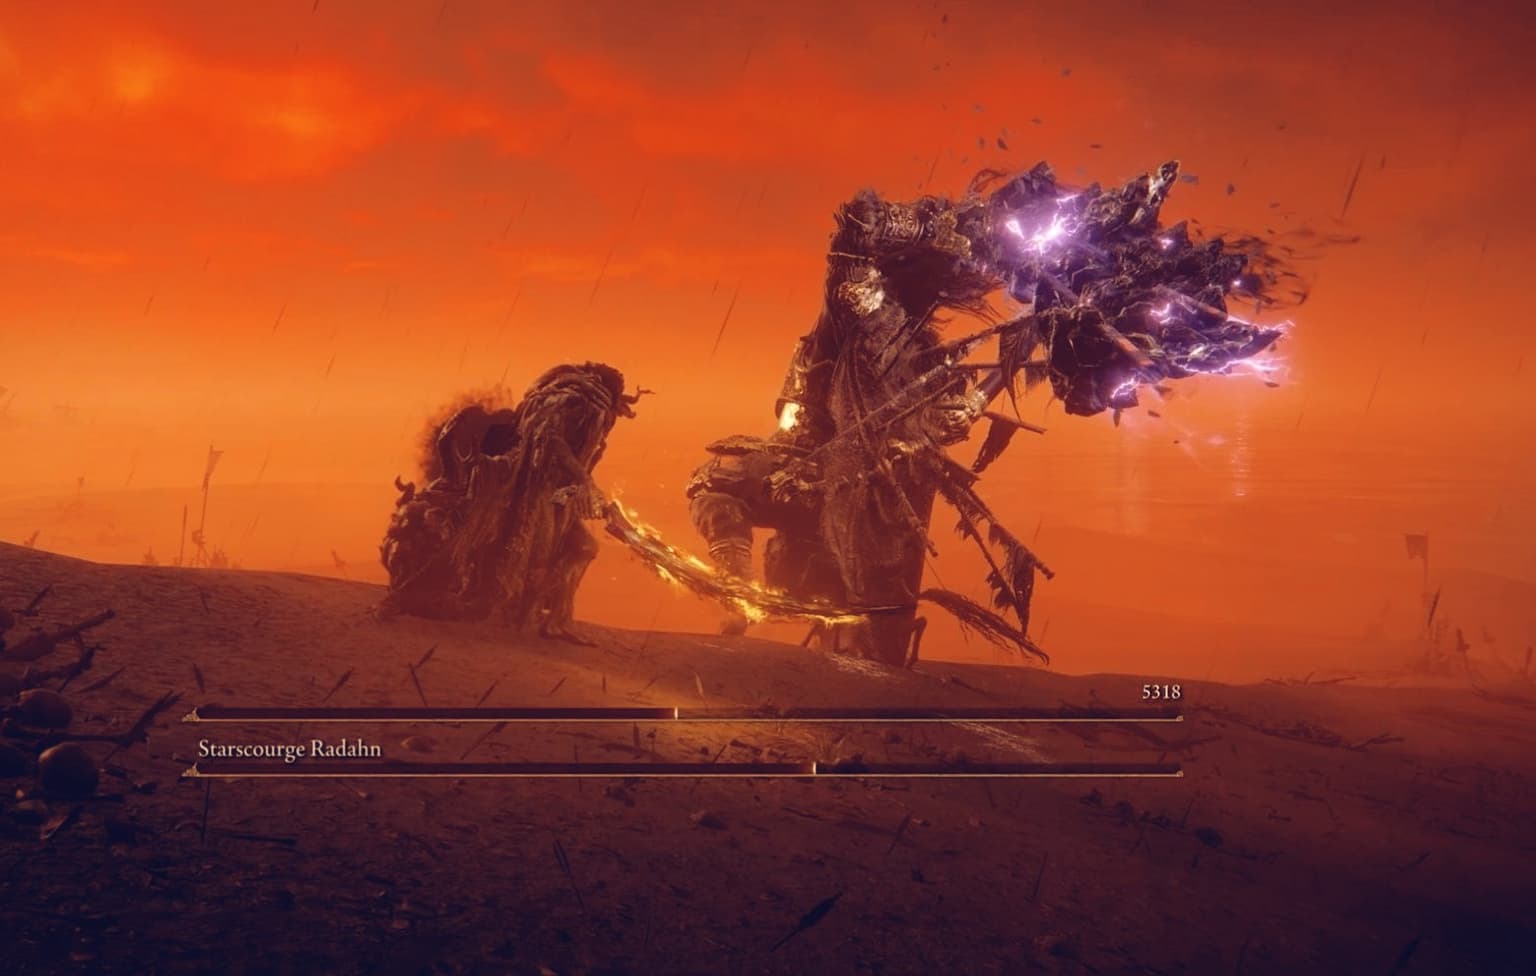
Phase 3 – Meteor Transition

Radahn disappears and returns as a meteor.
This is the hardest spike in the fight.
Most players die here due to panic positioning.
How to Actually Win the Fight
This is the optimized strategy used by consistent players:
Step 1: Do NOT fight alone
Immediately summon all available NPC allies.
They serve three purposes:
- Split aggro
- Create damage windows
- Force Radahn into movement loops
Step 2: Use hit-and-reset pattern
Do not commit to long combos.
Instead:
- Approach
- Deal 1–2 hits
- Retreat
- Reset positioning
Radahn punishes extended aggression.
Step 3: Let summons “stabilize” aggro
If summons are alive:
Radahn’s behavior becomes predictable in short bursts.
This is your safest damage window.
Step 4: Prepare for meteor phase
When Radahn disappears:
- Stop chasing
- Look for meteor impact zone
- Move diagonally (not backward)
This avoids instant knockback death.
Why Some Players Think Radahn Is Easy
Players who understand summon timing experience a completely different fight.
They are not fighting Radahn directly.
They are managing:
- Aggro distribution
- Summon rotation
- Safe DPS windows
This is why difficulty opinions vary so much.
Best Weapon Strategy

Radahn is not resistant to damage.
But he punishes slow commitment.
Best weapon types:
- Fast katanas
- Light greatswords
- Magic hybrid builds
Avoid:
- Ultra slow weapons (risk during phase transitions)
Biggest Mistakes Players Make
1. Treating it like a duel
This is not a duel fight.
2. Ignoring arena mobility
Horse movement is essential early.
3. Overcommitting damage
Radahn punishes greed heavily.
4. Panicking during meteor phase
Most deaths happen from bad repositioning, not damage.
Advanced Insight: Why Radahn Feels Random
Radahn appears chaotic because:
- Multiple NPCs generate overlapping aggro triggers
- His AI recalculates target priority constantly
- Projectile and melee phases overlap
To untrained players, this feels like randomness.
To experienced players, it is a rotation system.
Final Strategy Summary
To consistently beat Radahn:
- Treat summons as core mechanics, not optional help
- Avoid direct dueling mindset
- Play hit-and-reset damage style
- Prioritize survival during transition phases
- Understand aggro distribution
Final Verdict
Radahn is not a DPS test.
He is a system understanding test.
Once you stop treating him like a normal boss and start treating him as a battlefield control encounter, the fight becomes significantly more manageable.
The difference between a hard fight and an easy one is not level.
It is understanding how the system is designed to be played.