
Level 150 is the standard endgame build level in Elden Ring. It is the point where most players complete their first playthrough, tackle the DLC, and transition into optimized PvP or NG+.
At this level, your build is no longer about reaching minimum requirements. It is about stat efficiency, soft cap optimization, and build specialization.
This guide covers every viable Level 150 build with exact stat allocations, equipment choices, and progression paths.
Use the Rune Level Calculator to plan your rune farming, and the Build Planner to fine-tune your stat allocation.
Why Level 150 Became the Elden Ring Meta
Level 150 is not arbitrary. It is the level where Elden Ring's scaling systems converge into optimal efficiency.
What Level 150 Unlocks
- 60 Vigor — The survival breakpoint. At 60 Vigor, you survive most boss combos. Below 50, many DLC bosses one-shot you.
- One primary damage stat at soft cap — STR 60-80, INT 60-80, or ARC 45-50 reach their optimal scaling ranges.
- Enough Endurance — 25-35 Endurance lets you wear meaningful armor and still medium roll.
- Enough Mind — 20-35 Mind is sufficient for weapon skills and spells without over-investing.
Why Not Level 125?
Level 125 is the PvP duel meta because it forces trade-offs. At 125, you cannot max Vigor AND a damage stat AND Endurance. This creates build variety with real weaknesses.
For PvE, however, 125 feels restrictive. You sacrifice either survivability or damage.
Why Not Level 200?
Level 200 lets you reach multiple soft caps. A Level 200 build can have 60 Vigor, 80 INT, AND 40 Mind. This removes build identity — every build becomes a hybrid. For NG+ this is fine, but for a focused endgame experience, 150 hits the sweet spot.
Level 125 vs Level 150 vs Level 200
Choosing your level determines what your build can do. Here is how the three most common level brackets compare.
Comparison Table
| Level | Best For | Advantage | Trade-Off |
|---|---|---|---|
| 125 | PvP duels, invasions | Balanced matchmaking, forced build specialization | Cannot reach 60 Vigor + 80 damage stat |
| 150 | PvE endgame, DLC, casual PvP | Most builds feel complete, 60 Vigor + soft cap damage | Less build variety in PvP (everyone hits thresholds) |
| 200 | NG+, DLC+multiple playthroughs | Access to multiple soft caps, hybrid builds viable | Over-leveled for standard matchmaking, less challenge |
Which Level Should You Choose?
- Playing through the base game? Stop at 150. You do not need more.
- PvP dueling? Stay at 125. You get fair matchmaking.
- Starting NG+? Go to 200. You can experiment with hybrid setups.
- DLC first playthrough? 150 is ideal. The DLC is balanced around Level 140-160 characters.
Check our Level 125 Builds and Level 200 Builds guides for level-specific recommendations.
Best Level 150 Builds Compared
Here is a direct comparison of all five major Level 150 builds. The ratings are based on our testing methodology using the Build Planner with Level 150, Weapon +10/+25, and 60 Vigor baseline.
| Build | Boss DPS | Survival | Difficulty | DLC Performance | PvP |
|---|---|---|---|---|---|
| Bleed Arcane | 10/10 | 8/10 | Medium | 8/10 | 9/10 |
| Strength Colossal | 9/10 | 10/10 | Easy | 10/10 | 7/10 |
| Intelligence Sorcery | 9/10 | 8/10 | Easy | 8/10 | 6/10 |
| Dexterity Katanas | 8/10 | 7/10 | Hard | 8/10 | 9/10 |
| Faith Hybrid | 8/10 | 9/10 | Medium | 9/10 | 8/10 |
Reading the Table
- Boss DPS — Raw damage output against standard bosses with bleedable targets.
- Survival — Ability to take hits and recover.
- Difficulty — Execution complexity. Easy means accessible to most players.
- DLC Performance — Effectiveness against aggressive DLC bosses with high posture.
- PvP — Effectiveness in invasions and duels.
How to Reach Level 150 (Progression Guide)
Many players search for Level 150 builds because they have already reached Level 150 and need a proper setup. Here is how to build towards 150 efficiently.
Early Game (Level 1-50)
Priority: Vigor + Weapon Requirements
- Level Vigor to 20-25 first. Health is more important than damage early.
- Meet minimum weapon stat requirements (e.g., 12 STR for Greatsword).
- Upgrade your weapon before your damage stat. A +3 weapon beats 30 STR with +0.
Recommended: 25 Vigor, 20 Endurance, minimum stats for your chosen weapon.
Mid Game (Level 50-100)
Priority: Primary Damage Stat
- Take your main damage stat to 40-50.
- Keep Vigor at 35-40.
- Add Endurance to medium roll with your preferred armor.
Example: Strength build at Level 80: 40 Vigor, 25 Endurance, 40 Strength.
End Game (Level 100-150)
Priority: Soft Caps + Final Optimization
- Push Vigor to 60.
- Take your damage stat to its soft cap (60 for STR/INT, 45-50 for ARC).
- Use the remaining levels to round out Mind, Endurance, or secondary stats.
Example: Bleed build at Level 150: 60 Vigor, 20 Mind, 25 Endurance, 45 Dexterity, 50 Arcane.
Rune Farming Route
- Level 1-50: Gatefront Ruins, Stormhill, Weeping Peninsula
- Level 50-100: Caelid Dragonbarrow (small dragons), Mohgwyn Palace (bird farm)
- Level 100-150: Mohgwyn Palace (Albinauric farm with Sacred Relic Sword or Wave of Gold)
Use the Rune Level Calculator to see exactly how many runes you need for each level.
Build 1: Bleed Arcane (S Tier – Highest Boss DPS)
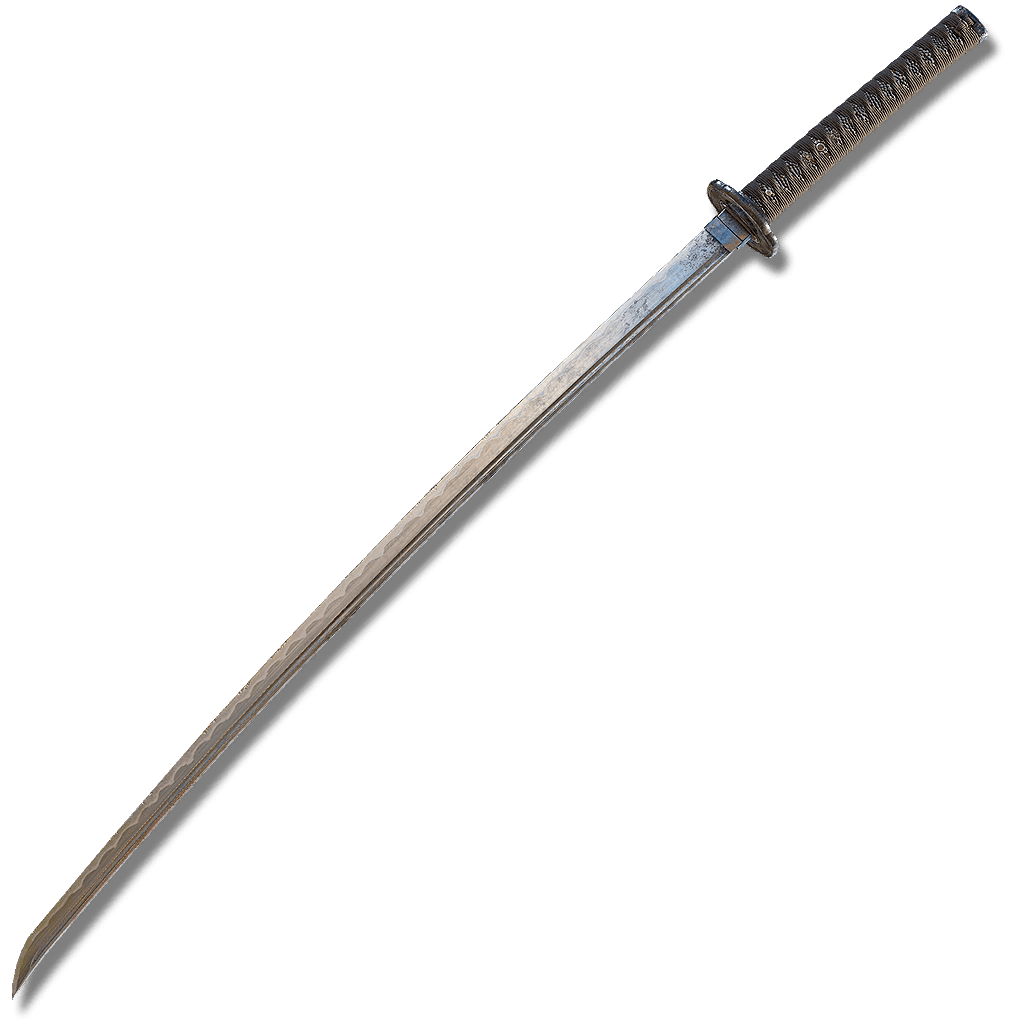
One of the fastest boss-killing builds against bleedable enemies. Hemorrhage deals percentage-based damage that bypasses boss resistances.
Why It Works
- Hemorrhage deals 15% max HP + 200 flat damage per proc
- Arcane scaling increases bleed buildup speed
- Rivers of Blood weapon skill (Corpse Piler) procs bleed in 2-3 hits
Full Stat Allocation (Level 150)
| Stat | Value |
|---|---|
| Vigor | 60 |
| Mind | 20 |
| Endurance | 25 |
| Strength | 12 |
| Dexterity | 45 |
| Intelligence | 9 |
| Faith | 8 |
| Arcane | 50 |
Equipment
| Slot | Item |
|---|---|
| Right Hand 1 | Rivers of Blood +10 |
| Right Hand 2 | Occult Uchigata +25 (or Nagakiba) |
| Left Hand | Dragon Communion Seal +10 |
| Head | White Mask |
| Body | Ronin's Armor |
| Arms | Veteran's Gauntlets |
| Legs | Veteran's Greaves |
| Talisman 1 | Lord of Blood's Exultation |
| Talisman 2 | Shard of Alexander |
| Talisman 3 | Claw Talisman |
| Talisman 4 | Erdtree's Favor +2 |
Best For
- Boss rushing
- DLC main bosses (if bleedable)
- PvP invasions
Weaknesses
- Useless against bleed-immune bosses (Elden Beast, Crystalians)
- Requires aggressive playstyle
See our full Bleed Build Guide for more depth.
Build 2: Strength Colossal (S Tier – Most Stable)
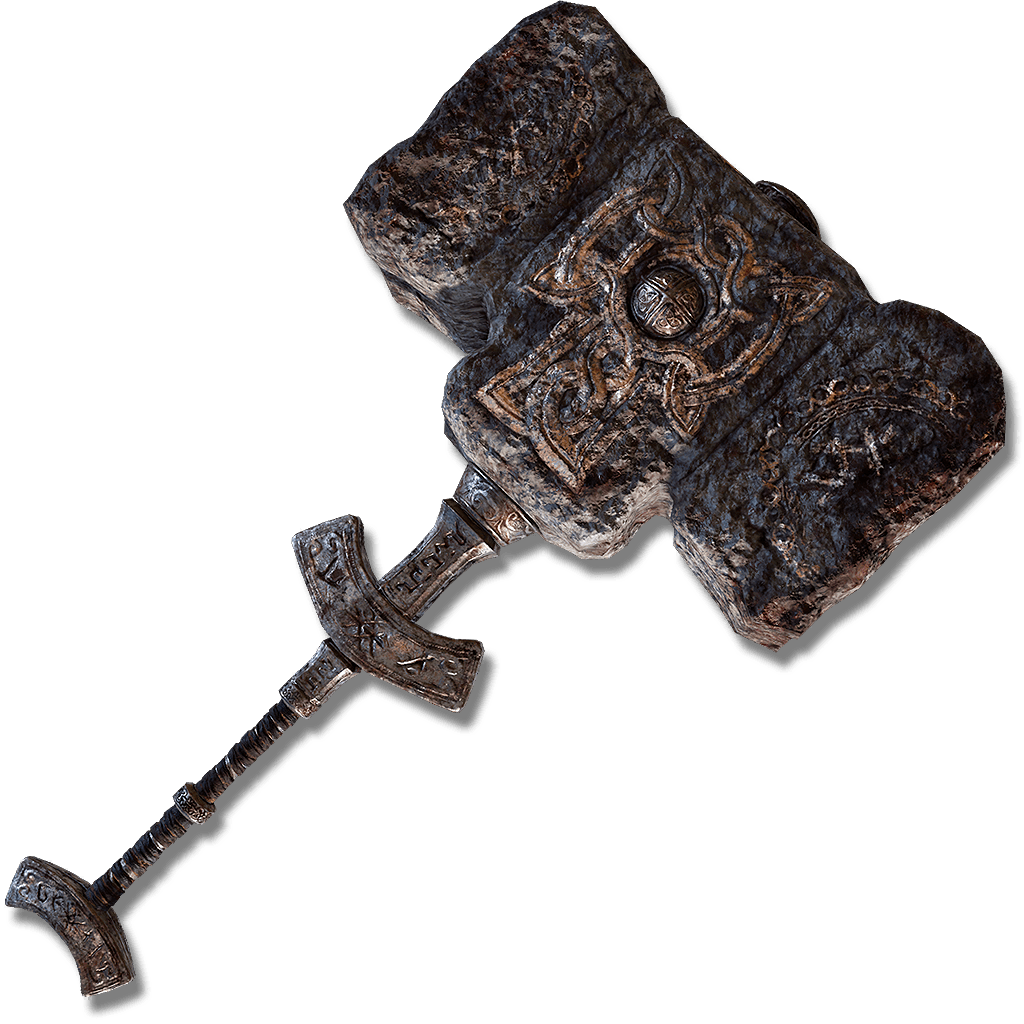
The most consistent PvE build in Elden Ring. Strength builds dominate because of stance break — every charged heavy and jump attack staggers bosses.
Why It Works
- Two-handing multiplies effective STR by 1.5x. At 80 STR, two-handing gives 120 effective STR scaling.
- Stance break allows 2-3 critical hits per boss fight
- Heavy armor + high poise = trade through boss attacks
Full Stat Allocation (Level 150)
| Stat | Value |
|---|---|
| Vigor | 60 |
| Mind | 15 |
| Endurance | 33 |
| Strength | 80 |
| Dexterity | 12 |
| Intelligence | 9 |
| Faith | 9 |
| Arcane | 7 |
Equipment
| Slot | Item |
|---|---|
| Right Hand 1 | Giant-Crusher +25 |
| Right Hand 2 | Greatsword +25 (for faster fights) |
| Left Hand | Clawmark Seal +10 (for buffs) |
| Head | Bull-Goat Helm |
| Body | Bull-Goat Armor |
| Arms | Bull-Goat Gauntlets |
| Legs | Bull-Goat Greaves |
| Talisman 1 | Claw Talisman |
| Talisman 2 | Great-Jar's Arsenal |
| Talisman 3 | Dagger Talisman |
| Talisman 4 | Erdtree's Favor +2 |
Ash of War
- Lion's Claw on Greatsword (best stance break AoW)
- Royal Knight's Resolve for critical hit setups
Best For
- DLC bosses (aggressive trading)
- Solo PvE (most stable experience)
- Beginners transitioning to endgame
See our full Strength Build Guide for more depth.
Build 3: Intelligence Sorcery (S Tier – Safest Ranged)
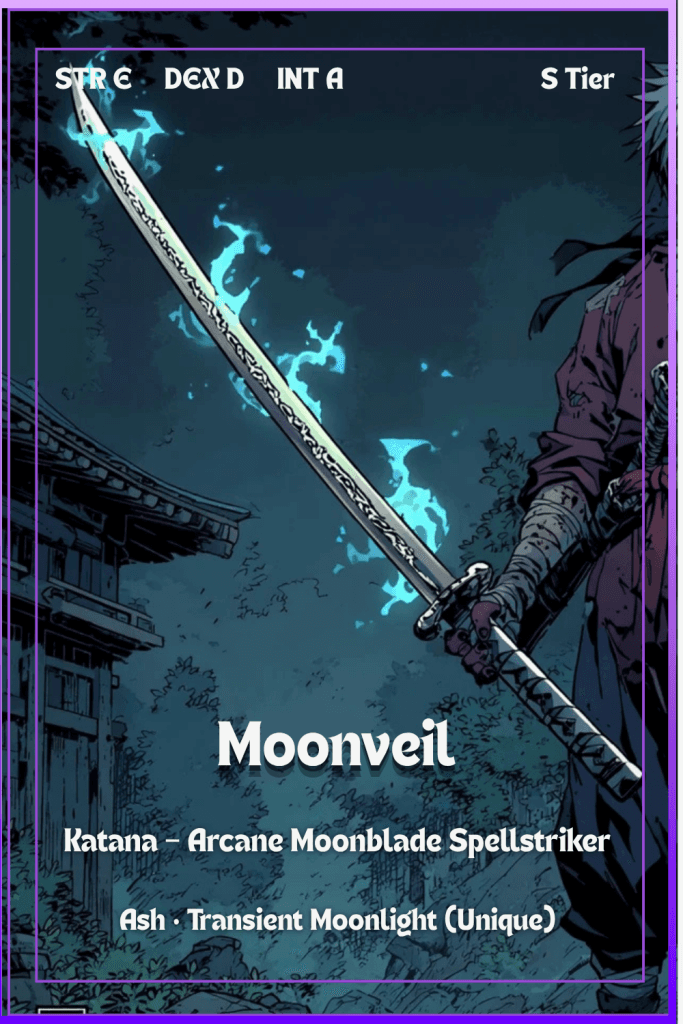
The safest playstyle in Elden Ring. Intelligence builds kill bosses from range with high burst potential.
Why It Works
- Comet Azur + Cerulean Hidden Tear = 10-second boss deletion
- Moonveil provides a strong melee backup
- Dark Moon Greatsword charged heavies deal massive poise damage
Full Stat Allocation (Level 150)
| Stat | Value |
|---|---|
| Vigor | 55 |
| Mind | 35 |
| Endurance | 20 |
| Strength | 16 |
| Dexterity | 12 |
| Intelligence | 80 |
| Faith | 7 |
| Arcane | 9 |
Equipment
| Slot | Item |
|---|---|
| Right Hand 1 | Dark Moon Greatsword +10 |
| Right Hand 2 | Moonveil +10 (situational) |
| Left Hand | Carian Regal Scepter +10 |
| Head | Lusat's Glintstone Crown |
| Body | Carian Knight Armor |
| Arms | Carian Knight Gauntlets |
| Legs | Carian Knight Greaves |
| Talisman 1 | Graven-Mass Talisman |
| Talisman 2 | Magic Scorpion Charm |
| Talisman 3 | Radagon Icon |
| Talisman 4 | Dragoncrest Greatshield Talisman |
Key Spells
- Comet Azur (boss deletion)
- Terra Magicus (damage buff zone)
- Great Glintstone Shard (spammable DPS)
- Ranni's Dark Moon (frost + debuff)
Best For
- First playthrough endgame
- Safe PvE clearing
- Co-op support with ranged DPS
Weaknesses
- Low poise (glass cannon)
- Vulnerable in close quarters
See our full Intelligence Build Guide for more depth.
Build 4: Dexterity Katanas (A Tier – High Skill Ceiling)

Fast, mobile, and rewarding — but unforgiving of mistakes. Dexterity builds excel in PvP and require precise execution in PvE.
Full Stat Allocation (Level 150)
| Stat | Value |
|---|---|
| Vigor | 60 |
| Mind | 18 |
| Endurance | 25 |
| Strength | 15 |
| Dexterity | 60 |
| Intelligence | 9 |
| Faith | 8 |
| Arcane | 7 |
Equipment
| Slot | Item |
|---|---|
| Right Hand 1 | Hand of Malenia +10 |
| Right Hand 2 | Nagakiba +25 (Keen) |
| Left Hand | (two-handing) |
| Talisman 1 | Millicent's Prosthesis |
| Talisman 2 | Rotten Winged Sword Insignia |
| Talisman 3 | Claw Talisman |
| Talisman 4 | Erdtree's Favor +2 |
Strengths
- Fastest attack speed in the game
- Waterfowl Dance melts large bosses
- Excellent roll-catch potential in PvP
Weaknesses
- Low poise — one hit staggers you
- No stance break — requires many more hits to stagger
- Very punishing against aggressive DLC bosses
See our full Dexterity Build Guide for more depth.
Build 5: Faith Hybrid (A Tier – Utility & Versatility)
Faith builds trade raw damage for versatility. You get healing, buffs, multiple damage types, and strong co-op support.
Full Stat Allocation (Level 150)
| Stat | Value |
|---|---|
| Vigor | 60 |
| Mind | 30 |
| Endurance | 25 |
| Strength | 16 |
| Dexterity | 18 |
| Intelligence | 7 |
| Faith | 60 |
| Arcane | 10 |
Equipment
| Slot | Item |
|---|---|
| Right Hand 1 | Blasphemous Blade +10 |
| Right Hand 2 | Sacred Relic Sword +10 (for farming) |
| Left Hand | Erdtree Seal +10 |
| Head | Haligtree Helm |
| Body | Tree Sentinel Armor |
| Arms | Tree Sentinel Gauntlets |
| Legs | Tree Sentinel Greaves |
| Talisman 1 | Shard of Alexander |
| Talisman 2 | Fire Scorpion Charm |
| Talisman 3 | Dragoncrest Greatshield Talisman |
| Talisman 4 | Erdtree's Favor +2 |
Key Incantations
- Golden Vow (15% damage + defense buff)
- Flame Grant Me Strength (20% physical + fire buff)
- Erdtree Heal (full HP restore)
- Pest Threads (excellent DLC boss DPS)
Strengths
- Self-healing on Blasphemous Blade weapon skill
- Best co-op build for supporting allies
- Covers all damage types (fire, holy, physical)
Weaknesses
- Stat-heavy — needs STR, DEX, FAI to work
- No single standout damage stat
See our full Faith Build Guide for more depth.
What Makes a Good Level 150 Build?

A proper Level 150 build must satisfy three conditions. If yours violates any of these, you are wasting stat points.
Condition 1: 60 Vigor
This is non-negotiable. At 60 Vigor:
- 1,900 HP (unbuffed)
- Survive most boss combos
- DLC bosses require this baseline
Below 50 Vigor, DLC bosses like Messmer can one-shot you with a single combo.
Condition 2: One Optimized Damage Stat
Choose one: STR, DEX, INT, FAI, or ARC. Push it to its soft cap:
- STR: 60-80 (two-handing gives effective 90-120)
- DEX: 55-60 (60 gives max cast speed)
- INT: 60-80 (80 is the sorcery soft cap)
- FAI: 50-60 (60 unlocks all incantations)
- ARC: 45-50 (50 is the bleed buildup soft cap)
Condition 3: No Wasted Secondary Stats
Common mistakes:
- Putting points into STR on a Bleed build (stop at minimum requirements)
- Leveling INT on a Faith build
- Having 15+ unused stat points in DEX on a pure STR build
Every point should serve your primary strategy.
Why Most Level 150 Builds Fail
Most players arrive at Level 150 with a suboptimal build. Here are the most common mistakes we see.
Mistake 1: Over-Investing in Damage Stats
Problem: STR 80+, INT 80+, ARC 70+
Why It Fails: Diminishing returns after soft caps. Going from 60 to 80 STR gives less than 10% more damage for 20 levels.
Fix: Stop at 60-80 for STR/INT, 45-50 for ARC. Use leftover levels for Vigor, Endurance, or Mind.
Mistake 2: Low Vigor
Problem: 35-40 Vigor at Level 150
Why It Fails: DLC bosses deal 1,500+ damage per hit. You die in 2 hits.
Fix: 60 Vigor. Not negotiable.
Mistake 3: Hybrid Stat Spread
Problem: 40 STR + 40 DEX + 30 INT
Why It Fails: You do nothing well. Each damage type scales sub-optimally.
Fix: Specialize. Pick one primary damage stat. Quality builds (STR+DEX) are viable but underperform pure builds at Level 150.
Mistake 4: Wrong Talisman Setup
Problem: Using Soreseal talismans at Level 150
Why It Fails: Soreseals add 15% damage taken. At high levels, the stat bonus is not worth the penalty.
Fix: Replace Soreseals with damage-boosting talismans (Shard of Alexander, Claw Talisman, Scorpion Charms).
PvE vs PvP at Level 150
Level 150 plays very differently in PvE versus PvP. Here is what changes.
PvE Focus
- Build: Strength Colossal or Bleed Arcane
- Strategy: Max damage, stance break, aggressive play
- Key Difference: You can ignore Vigor checks because you can always dodge
- Best Setup: 60 Vigor, 80 STR, Giant-Crusher + Lion's Claw
PvP Focus
- Build: Bleed Arcane or Dexterity Katanas
- Strategy: Pressure, roll-catch, status buildup
- Key Difference: You need poise (51+ for hyper armor) and faster weapons
- Best Setup: 60 Vigor, 45 DEX, 45 ARC, Rivers of Blood
Key PvP Adjustments
- Switch Claw Talisman for Bull-Goat's Talisman (more poise)
- Use Crimson Amber Medallion +2 for extra survivability
- Lower Endurance to 20-25 (PvP fights are shorter)
- Consider Level 125 for better duel matchmaking
Level 150 Build Testing Methodology
Every build in this guide was tested using the Elden Ring Build Planner.
Testing Parameters
- Character Level: 150
- Weapon Level: +10 (Somber) / +25 (Standard)
- Vigor: 60 baseline
- Talismans: Optimized per build (not generic)
- Test Bosses: Malenia (DLC), Mohg (Lord of Blood), Godfrey (endgame)
Metrics Measured
- AR (Attack Rating): Total weapon damage output
- DPS: Damage per second accounting for attack speed
- Stat Efficiency: Damage per stat point invested
- Survivability: Time to death under sustained boss pressure
- Breakpoint Access: Whether key thresholds are reached
How to Test Your Own Build
- Open the Build Planner
- Enter your level, stats, and equipment
- Check your AR and DPS
- Compare against the builds above
- Adjust stats to match soft caps
The calculator is free and works for any build at any level.
Best Level 150 Builds for Specific Scenarios
| Scenario | Best Build | Why |
|---|---|---|
| Highest boss DPS | Bleed Arcane | Hemorrhage melts HP bars |
| Easiest for beginners | Strength Colossal | Simple, tanky, stance break |
| Safest ranged play | Intelligence Sorcery | Kill bosses from distance |
| Best for DLC | Strength Colossal | Aggressive trading + poise |
| Best for PvP | Bleed Arcane | Fast pressure + hemorrhage burst |
| Best for co-op | Faith Hybrid | Healing + buffs + versatile damage |
| Speedrunning | Bleed Arcane | Fastest clear times |
| NG+ first run | Intelligence Sorcery | Over-leveled sorcery dominates |
| Challenge runs | Dexterity Katanas | High skill expression |
Not sure which build fits your playstyle? Check our Build Tier List for a complete ranking.
Final Verdict
Level 150 is Elden Ring's sweet spot. It gives you enough stats to feel powerful without removing all challenge.
Three things to remember:
- 60 Vigor is mandatory. Nothing else matters if you die in one hit.
- Specialize in one damage stat. Hybrids underperform at Level 150.
- Use a Build Planner before respeccing. Do not waste Larval Tears.
Ready to optimize? Start with the Build Planner: