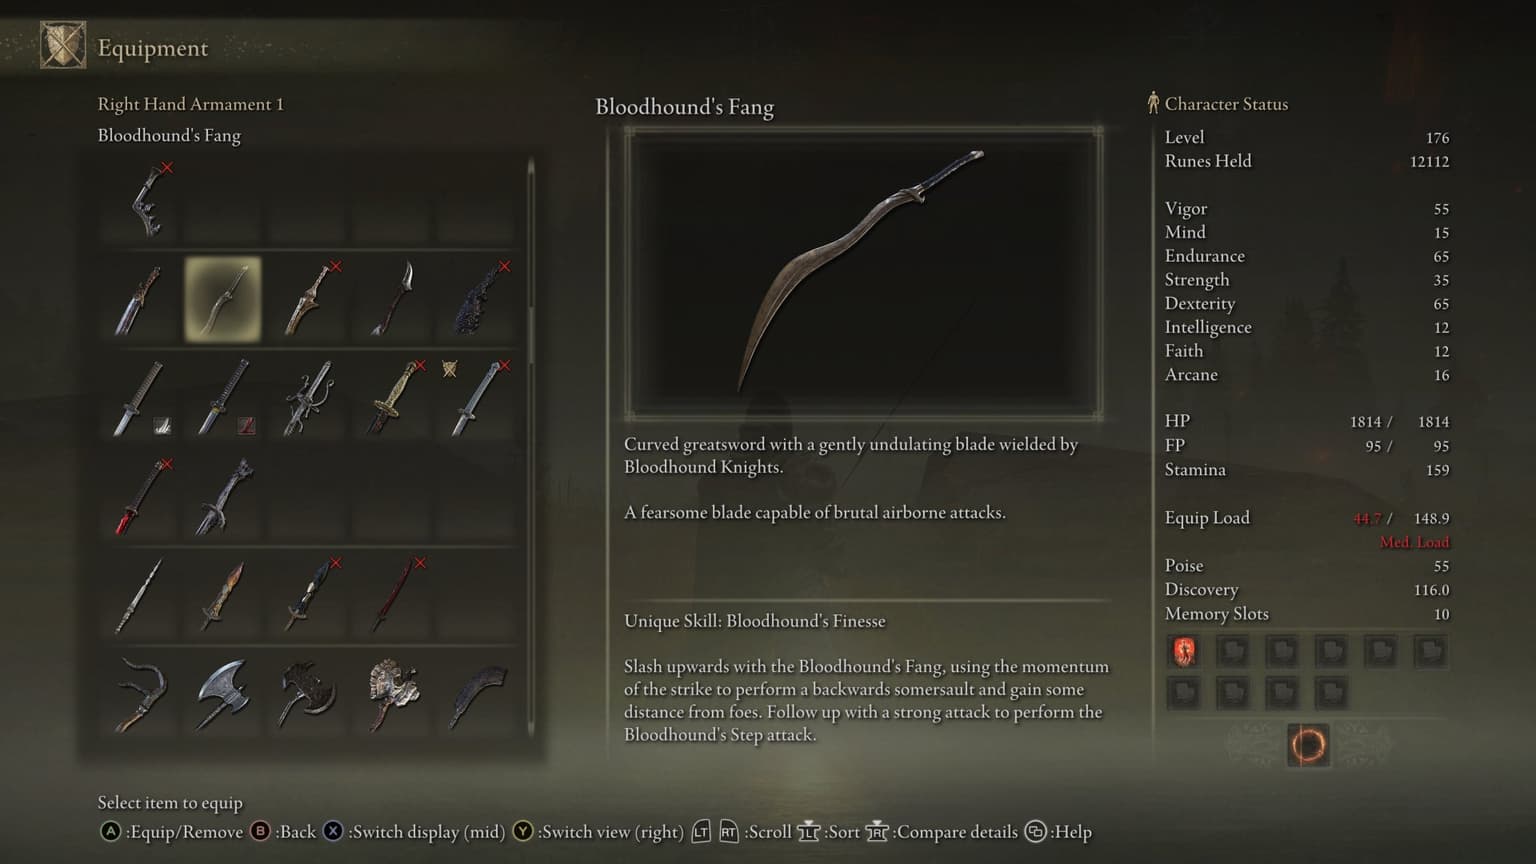
The Mountaintops of the Giants is one of Elden Ring's final main story regions, accessed after Leyndell via the Grand Lift of Rold.
This walkthrough covers the fastest progression route, including:
- Map fragment locations
- Castle Sol and Commander Niall
- Haligtree Secret Medallion
- Fire Giant preparation and phase-by-phase strategy
- All Sites of Grace route
- Missable loot checklist
- Best builds for this region
Recommended level: 100-120 with weapon +20 or higher.

The Mountaintops marks a major difficulty spike. Enemy health roughly doubles compared to Altus Plateau. Upgrade materials become rarer. This is where Elden Ring begins preparing you for the endgame — and the game expects you to be ready.
Mountaintops of the Giants Progression Route
Here is the fastest route through the Mountaintops. Follow this sequence to minimize backtracking and maximize rewards:
`
Grand Lift of Rold
│
▼
Zamor Ruins (map fragment + loot)
│
▼
Ancient Snow Valley Ruins (Grace checkpoint)
│
▼
Freezing Lake (Dragon + resources)
│
▼
Castle Sol
│ └─ Commander Niall → Haligtree Secret Medallion (Left)
│
▼
Whiteridge Road (Fire Giant approach)
│
▼
Foot of the Forge (Fire Giant arena)
│
▼
Fire Giant (Phase 1 → Phase 2)
│
▼
Forge of the Giants
`
This route is designed to collect every important reward before the Fire Giant while keeping travel distance to a minimum.
Mountaintops of the Giants Sites of Grace Route
These are the essential Sites of Grace you should unlock in order:
| Order | Site of Grace | Why Visit |
|---|---|---|
| 1 | Zamor Ruins | Starting area, map fragment, early loot |
| 2 | Ancient Snow Valley Ruins | Main route checkpoint, central hub |
| 3 | Freezing Lake | Dragon fight, upgrade materials |
| 4 | Whiteridge Road | Castle Sol access, shortcut |
| 5 | Church of Eclipse | Castle Sol checkpoint, shortcut |
| 6 | Castle Sol Rooftop | Before Commander Niall |
| 7 | Foot of the Forge | Fire Giant boss entrance |
| 8 | Forge of the Giants | Post-Fire Giant, story progression |
Unlocking these in this order gives you the fastest travel network through the region.
Why the Mountaintops of the Giants Matter
The Mountaintops serve as the gateway to every major late-game area.
Progress here eventually leads toward:
- Fire Giant — the region's main story boss
- Forge of the Giants — unlocks the next main story area
- Crumbling Farum Azula — endgame legacy dungeon
- Consecrated Snowfield — optional but highly rewarding
- Miquella's Haligtree — home to Malenia, one of the hardest bosses in any FromSoftware game
Several of the strongest weapons, talismans, and upgrade materials become available during this stage of the game. The region also contains one of the few Ancient Dragon Smithing Stones available before the final boss.
Recommended Level and Preparation
Before entering the region, here is what you should aim for:
| Requirement | Minimum | Recommended |
|---|---|---|
| Character Level | 100 | 110–120 |
| Standard Weapon | +20 | +22 to +24 |
| Somber Weapon | +8 | +9 |
| Flask Charges | 10 | 12 |
| Vigor | 40 | 50–60 |
| Main Damage Stat | 40 | 50–60 |
Players below these numbers will notice the difficulty spike immediately. The Mountaintops is not designed for experimentation — it expects a focused build. If you need to respec, now is the time. Use the Elden Ring Build Planner to test different stat distributions before spending Larval Tears.
Best Builds for the Mountaintops of the Giants
The Mountaintops favors builds that can handle large enemies and multiple targets. These three builds perform exceptionally well:
Bleed Build
Why it works: Fire Giant is weak to bleed. Commander Niall's summons are also vulnerable. Bleed's percentage-based damage is especially effective against the region's high-HP enemies.
Recommended: Bleed Build Guide
Moonveil Build
Why it works: Transient Moonlight deals heavy posture damage, letting you stagger enemies quickly. The ranged attack is invaluable for picking off dangerous targets before they close distance.
Recommended: Moonveil Build Guide
Frost Build
Why it works: Frostbite reduces enemy damage negation by 20%, making follow-up attacks hit much harder. The Mountaintops has several enemies weak to frost, and frost + bleed is a devastating combination against the Fire Giant.
Recommended: Best Builds Overview
All three builds benefit from the upgrade materials available in this region. Make sure your weapon is at least +20 before attempting the Fire Giant.
First Objectives After Entering the Mountaintops
Many players immediately head toward the Fire Giant. This is rarely the best approach.
Your initial goals should be:
- Obtain the East Mountaintops map fragment — navigation is much harder without it
- Explore Zamor Ruins — valuable loot and upgrade materials
- Activate Ancient Snow Valley Ruins Grace — central travel hub
- Collect Smithing Stones [7] and [8] — weapon upgrades are critical here
- Visit Freezing Lake — dragon fight, resources, and route to Castle Sol
- Clear Castle Sol — Haligtree Secret Medallion is the most important optional item
- Prepare for Fire Giant — finalize your build, upgrade weapons, stock up on consumables
- Defeat Fire Giant — unlocks Forge of the Giants and endgame progression
This route minimizes frustration and maximizes progression efficiency.
East Mountaintops Map Fragment Location
Your first priority should always be map visibility.
Location: From the Zamor Ruins Grace, head east along the cliff edge. The map stone is on a small plateau guarded by a few wolves.
Why it matters: The eastern section contains main story progression, Castle Sol access, key farming routes, and important side content. The Mountaintops is deceptive — what looks like a small region is actually one of the largest areas in the game when you account for vertical exploration.
Without the map, you will waste time backtracking through areas that look identical in the snow.
Zamor Ruins Walkthrough
Zamor Ruins is the first major location you will encounter after the Grand Lift of Rold.
What to do here:
- Activate the Zamor Ruins Site of Grace
- Explore the central building for the Smithing Stone [7] and Somber Smithing Stone [7]
- Loot the surrounding area for Golden Runes and crafting materials
- Defeat the Zamor Knights for decent rune drops
Key loot:
- Smithing Stone [7] (×3)
- Somber Smithing Stone [7]
- Golden Rune [12]
- Zamor armor set (from the boss)
The Zamor Ruins boss is optional but drops a unique armor set that provides decent frost resistance — useful for the Fire Giant fight.
Collecting Late-Game Smithing Stones
Weapon upgrades remain the single most important source of damage throughout Elden Ring. In the Mountaintops, you can find:
Smithing Stone [7] locations:
- Zamor Ruins (×3)
- Ancient Snow Valley Ruins (×2)
- Freezing Lake area (×1)
Smithing Stone [8] locations:
- Guardians' Garrison (×2)
- Castle Sol (×2)
Somber Smithing Stone [8]:
- Castle Sol (×1)
- Guardians' Garrison (×1)
Ancient Dragon Smithing Stone:
- Castle Sol — behind the boss room after defeating Commander Niall
This is one of the only Ancient Dragon Smithing Stones available before the final boss. Do not miss it.
Unlocking Key Sites of Grace
The region is enormous. Efficient travel becomes increasingly important.
Ancient Snow Valley Ruins — Central travel hub. From here you can reach most of the eastern Mountaintops. Activate this Grace immediately after Zamor Ruins.
Freezing Lake — Important exploration checkpoint. The lake area contains a dragon, upgrade materials, and the path to Castle Sol. There is also a Death Rite Bird that spawns at night.
Whiteridge Road — Useful for reaching the Fire Giant area quickly. This Grace also gives you access to a shortcut back to the main path if you need to resupply.
Church of Eclipse — Castle Sol's first Grace. Unlocking this gives you a safe respawn point for the Castle Sol run.
Freezing Lake Area Guide
The Freezing Lake area is deceptive — it looks empty, but it contains several important encounters.
What to do here:
- Defeat the dragon (Borealis of the Freezing Lake) — drops a Dragon Heart and the Borealis's Mist incantation. This dragon is aggressive but follows the same pattern as other Ancient Dragons. Stay behind the head and watch for the frost breath.
- Death Rite Bird (night only) — this enemy spawns at night near the lake's southern edge. Defeating it drops the Ancient Death Rancor spell (requires 21 Faith, 27 Intelligence). If you are running an Intelligence build, this spell is worth the detour.
- Collect Smithing Stones — several stones are scattered around the lake's edges.
- Find the path to Castle Sol — from the northern edge of the lake, head northeast through the canyon. You will eventually reach the Castle Sol entrance.
Recommended level for this area: 100+ with a weapon at +20 or higher.
Tibia Mariner (Optional Encounter)
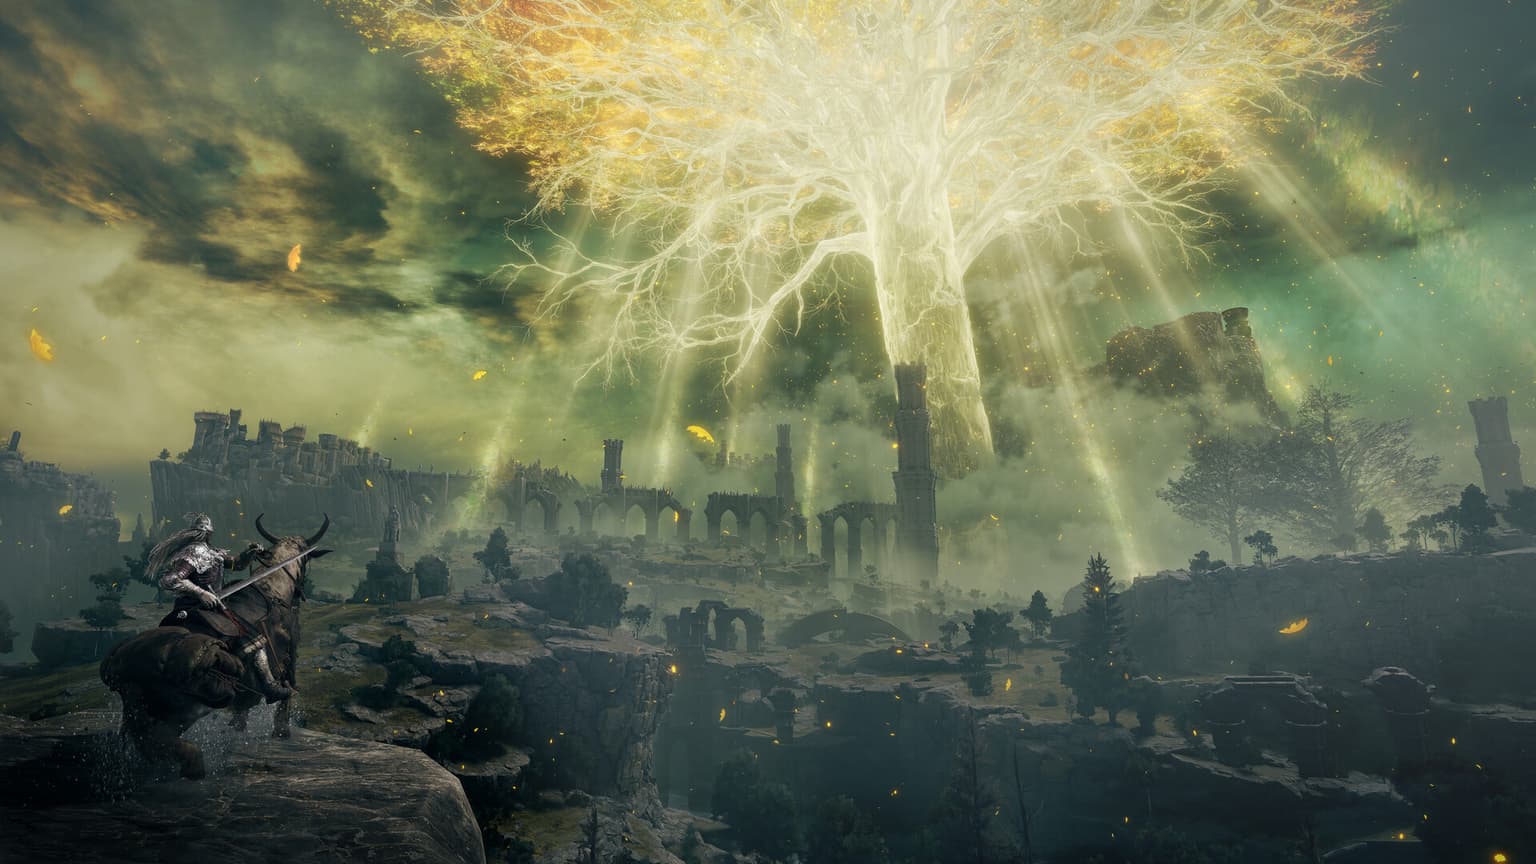
Located in the southern part of the Mountaintops, this Tibia Mariner is much stronger than the ones you faced in Limgrave and Liurnia.
Rewards:
- Rune rewards (approximately 80,000 runes)
- Deathroot (for the Beast Clergyman questline)
Strategy: Use Torrent to close distance quickly. The Tibia Mariner summons skeletons — ignore them and focus on the mariner. When it starts casting, use the pillars for cover.
This fight is optional but recommended if you are progressing the Beast Clergyman questline.
Castle Sol Walkthrough (Complete)
Castle Sol is the single most important optional area in the Mountaintops. Many players skip it — this is a major mistake.
Why Castle Sol matters:
Castle Sol contains the Haligtree Secret Medallion (Left), which is required to access the Consecrated Snowfield and, eventually, Miquella's Haligtree. Without it, you cannot reach Malenia or some of the best late-game loot.
Complete Castle Sol route:
- Enter Castle Sol from the northeastern path. The entrance is guarded by several exiled soldiers.
- Activate the Church of Eclipse Grace — this is your first safe point inside the castle.
- Clear the courtyard — watch for soldiers on the ramparts above. Use ranged attacks or a bow to thin them out before entering.
- Climb the main tower — defeat the Lion Guardian blocking the stairs. This enemy hits hard but is slow — dodge through its attacks and punish from behind.
- Reach the rooftop — from the tower, cross the rooftops. There are several Banished Knights here. They are aggressive and have high poise. Use a shield or keep your distance.
- Open the shortcut — on the rooftop, find the lever that opens the castle's main gate. This shortcut connects back to the Church of Eclipse Grace.
- Descend to the boss room — from the shortcut, head down the stairs toward the courtyard. The boss room is at the bottom.
- Fight Commander Niall — see the dedicated section below.
- Collect the Haligtree Secret Medallion — behind the boss room, loot the chest.
- Take the elevator — behind the medallion chest, there is an elevator leading to a lower area with an Ancient Dragon Smithing Stone.
Recommended level for Castle Sol: 105+ with weapon +20 or higher.
Tips:
- The Banished Knights can be backstabbed if you are patient
- Use a Strike weapon against the soldiers — they are weak to strike damage
- The Lion Guardian is weak to fire
- Summon a Spirit Ash for the Commander Niall fight
Commander Niall Strategy (Phase-by-Phase)
Commander Niall is one of the most challenging optional bosses before the endgame. He is a gatekeeper for the Haligtree content.
Why Commander Niall is important:
Defeating him grants:
- Haligtree Secret Medallion (Left)
- Access to Consecrated Snowfield and Miquella's Haligtree
- 90,000 runes
Phase 1 — The Summons
Commander Niall starts the fight with two summons: a dual-wielding Banished Knight and a shield-bearing Banished Knight.
Strategy:
- Kill the dual-wielding knight first — he is faster and more dangerous. Use a Spirit Ash to draw aggro while you focus him down.
- Kill the shield knight second — he is slower but has a shield that blocks most attacks. Use Guard Break or a weapon skill that deals heavy posture damage.
- Avoid hitting Niall during Phase 1 — he is mostly passive while his summons are alive, but hitting him will trigger his aggression early.
Phase 2 — Niall Alone
Once both summons are dead, Niall becomes active. His moveset includes:
- Lightning kick — a fast kick with a lightning AOE. Dodge backward.
- Ice lightning stomp — he slams his prosthetic foot, creating a large ice lightning AOE. Jump or dodge away.
- Scarlet Rot sword — he stabs his sword into the ground, creating a wide Scarlet Rot explosion. Run away immediately.
- Leaping slam — he jumps into the air and slams down with his prosthetic leg. Dodge to the side.
Strategy:
- Stay close but not directly in front — Niall's melee attacks are telegraphed but hit hard.
- Punish his recovery windows — after his lightning kick and leaping slam, he has a long recovery window. Get 2-3 hits in and back off.
- Use a tanky Spirit Ash — Mimic Tear or Black Knife Tiche can hold aggro while you attack from behind.
- Watch for the Scarlet Rot sword — if you see him stab the ground, run. The AOE covers a wide area.
Recommended equipment:
- Weapon: Strike damage weapon (heavy weapons work well)
- Physick: Opaline Hardtear (damage negation) + Crimsonburst Crystal Tear (HP regen)
- Talisman: Dragoncrest Greatshield Talisman (physical damage negation)
Phase 2 key tip: Niall is vulnerable to bleed and frost. If you are running a bleed build, this fight becomes significantly easier.
Haligtree Secret Medallion Location
After defeating Commander Niall:
- Exit the boss room through the rear door
- Loot the chest to obtain the Haligtree Secret Medallion (Left)
- Take the elevator behind the chest to find an Ancient Dragon Smithing Stone
What the medallion unlocks:
- Consecrated Snowfield (accessed via the Grand Lift of Rold)
- Miquella's Haligtree
- Malenia, Blade of Miquella
Important: You need both halves of the medallion. The right half is found in the Consecrated Snowfield, which you can only access with the left half. The Haligtree is entirely optional but contains some of the best loot in the game, including the Millicent's Prosthesis talisman and the Scarlet Aeonia incantation.
Fire Giant Preparation Checklist
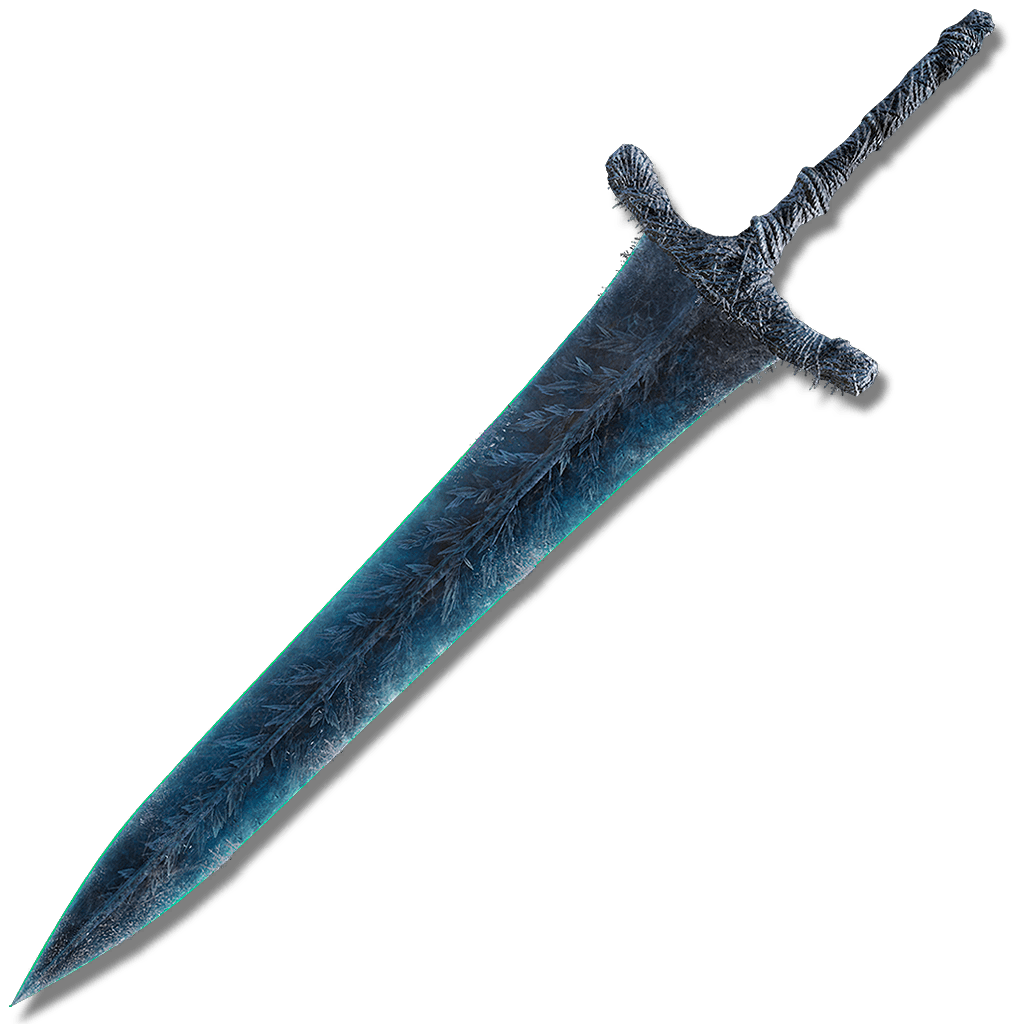
The Fire Giant is the region's main boss and a major progression gate. Do not rush this fight.
Fire Giant Preparation Checklist:
| Item | Recommendation | Why |
|---|---|---|
| Character Level | 100-120 | Below 100, the fight is significantly harder |
| Vigor | 40-60 | Most one-shot attacks are survivable at 50+ |
| Weapon Level | +20 or higher | Damage check — under-upgraded weapons extend the fight |
| Best Status Effect | Bleed or Frost | Fire Giant has high HP and low status resistance |
| Spirit Ash | Mimic Tear +10 | Draws aggro during Phase 2 |
| Physick | Fireproof Dried Liver + Opaline Hardtear | Reduces fire damage significantly |
| Torrent | Yes | Essential for closing distance in Phase 1 |
| Ranged Option | Bow or spell | Useful for hitting the eye in Phase 2 |
Recommended talismans:
- Dragoncrest Greatshield Talisman — reduces physical damage
- Flamedrake Talisman +2 — reduces fire damage
- Erdtree's Favor +2 — boosts HP, stamina, and equip load
- Green Turtle Talisman — faster stamina recovery
Fire Giant Strategy — Phase 1
The Fire Giant fight is a battle of endurance. The boss has an enormous health pool and two distinct phases.
Phase 1 — The Fire Giant mobile
In Phase 1, the Fire Giant is mobile and aggressive. His left leg is wrapped in a brace — this is your primary target.
Strategy:
- Summon Torrent immediately — you need mobility to close the gap
- Target the left ankle (the braced leg) — dealing enough damage to the braced leg triggers a stagger animation
- Use Torrent to close distance — the Fire Giant creates distance with his shield and fire attacks
- Avoid the shield — when he raises his shield, he is about to slam it down. The AOE has a wide radius
- Watch for the fire bowl — he swings his fire bowl in a wide arc. This is heavily telegraphed — dodge through it
- Punish the rolling recovery — when the Fire Giant rolls, he leaves a large opening. Chase him on Torrent and attack the braced leg
- Apply bleed or frost — status effects build up quickly. If you can proc bleed, it deals massive percentage-based damage
Phase 1 tips:
- Stay behind him whenever possible
- Do not lock on — the camera is your enemy in this fight
- Use Torrent's double jump to avoid ground AOE attacks
- If you are struggling, summon a cooperator — the fight scales well with two players
Phase 1 transitions to Phase 2 when the Fire Giant's health reaches approximately 50%. He will collapse, creating a massive fire AOE — run away from his body to avoid taking damage.
Fire Giant Strategy — Phase 2
Phase 2 begins when the Fire Giant rips off his injured leg. He becomes more aggressive but also more vulnerable.
Phase 2 — The Fire Giant stationary
In Phase 2, the Fire Giant is less mobile but gains new fire-based attacks. He crawls on his hands and uses his remaining leg to move.
Strategy:
- Do not stay under him — in Phase 2, staying under the Fire Giant is dangerous. He has a close-range fire AOE that can one-shot you
- Attack the arms and eye — his arms and the eye on his chest are the weak points in Phase 2
- Use ranged attacks — if you have a bow or ranged spell, use it to hit the eye from a distance. This is safer than getting close
- Watch for the fireball volley — he shoots a volley of fireballs that track your position. Use Torrent's sprint to dodge them
- Avoid the fire breath — he breathes fire in a wide cone. This attack covers a large area and lingers
- Summon your Spirit Ash — if you saved it for Phase 2, now is the time. The Spirit Ash draws aggro and gives you openings
- Punish the eye opening — after certain attacks, the eye on his chest opens. This is the highest damage window in the fight
Phase 2 tips:
- The Fire Giant's fire attacks deal massive damage — wear fire-resistant armor
- If you are using a bleed build, Phase 2 is easier because bleed procs ignore his increased fire resistance
- Do not get greedy — 2-3 hits per opening is enough
- The fight is designed to be long. Patience wins this encounter
Reach the Forge of the Giants
After defeating the Fire Giant:
- Follow the path through the arena
- Take the elevator up
- You will arrive at the Forge of the Giants
What happens here:
- The main story advances significantly
- You can interact with the forge to trigger a major story event
- New regions become available
- Endgame progression begins
Important: Before interacting with the forge, make sure you have completed everything you want to do in the Mountaintops. The forge is a point of no return — after interacting with it, you will be transported to Crumbling Farum Azula and cannot return to the Mountaintops until much later.
Missable Content Checklist — Things to Do Before Leaving
Before progressing past the Fire Giant, make sure you have collected everything on this list:
✅ East Mountaintops Map Fragment — required for navigation
✅ Castle Sol — Haligtree Secret Medallion (Left)
✅ Commander Niall defeated — 90,000 runes + medallion
✅ Haligtree Secret Medallion (Left) — required for Consecrated Snowfield
✅ Ancient Dragon Smithing Stone — behind Commander Niall's boss room
✅ Smithing Stone [7] and [8] — upgrade your weapon to +24
✅ Golden Seed — several available in the region
✅ Sacred Tear — available at the Mountaintops Church of Marika
✅ Death Rite Bird — drops Ancient Death Rancor spell (night only)
✅ Borealis of the Freezing Lake — Dragon Heart + incantation
✅ Zamor Ruins loot — Smithing Stones + armor set
Optional but recommended:
- Consecrated Snowfield exploration (requires medallion)
- Miquella's Haligtree (requires both medallion halves)
- Malenia boss fight (Haligtree end boss)
Fire Giant Recommended Builds
The Fire Giant is resistant to fire but weak to bleed and frost. These builds work especially well:
Bleed Build (Best Choice)
Bleed procs deal percentage-based damage, making the Fire Giant's massive health pool much more manageable. A dual-wielding bleed build with Blood Nagakiba or Rivers of Blood can proc bleed multiple times during the fight.
Frost Build
Frostbite reduces the Fire Giant's damage negation by 20%, making all follow-up damage hit harder. Combine frost with bleed for devastating results. The Dark Moon Greatsword is an excellent choice.
Moonveil Build
Transient Moonlight's ranged attacks are useful for hitting the eye in Phase 2. The heavy posture damage helps stagger the Fire Giant, creating longer punish windows.
General Tips for All Builds
- Upgrade your weapon to +24 (+9 for Somber) before the fight
- Equip the Fireproof Dried Liver for 20% fire damage reduction
- Use the Opaline Hardtear in your Physick for additional damage negation
- Bring a Spirit Ash — Mimic Tear +10 is the best choice
- Use Torrent for mobility, especially in Phase 1
Common Mountaintops Mistakes
Rushing the Fire Giant
This is the most common mistake. The Fire Giant is designed to be tackled after you have explored the region. Players who rush it often arrive underleveled, with under-upgraded weapons, and without the Haligtree Medallion. The result is a much harder fight and missing out on some of the best late-game content.
Skipping Castle Sol
Castle Sol is optional, but skipping it locks you out of the Consecrated Snowfield and Miquella's Haligtree. The Haligtree Secret Medallion is one of the most important items in the game. Do not skip Castle Sol.
Neglecting Weapon Upgrades
Enemy health in the Mountaintops is roughly double what you faced in Altus Plateau. A +15 weapon will struggle. Aim for +24 (+9 for Somber) before the Fire Giant. The Smithing Stones [7] and [8] in this region are specifically placed to help you reach this goal.
Underinvesting in Vigor
Glass-cannon builds suffer heavily in this region. The Fire Giant's fire attacks can one-shot players with less than 40 Vigor. Aim for 50-60 Vigor before the fight. The difference between 40 and 50 Vigor is roughly 300 HP — enough to survive a hit that would otherwise kill you.
Ignoring Exploration
Several important rewards are hidden away from the main path. The Ancient Dragon Smithing Stone behind Commander Niall's boss room, the Death Rite Bird's spell drop, and the Borealis dragon incantation are all easily missed. Take the time to explore.
How the Mountaintops Change Elden Ring
Earlier regions focus on growth. The Mountaintops focus on preparation.
By this stage, players should already understand:
- Build optimization — spreading stats too thin is punished
- Weapon scaling — your weapon should match your primary damage stat
- Flask management — 12+ charges are expected
- Boss fundamentals — attack patterns, punish windows, positioning
The game now expects mastery rather than experimentation.
This shift is what makes the Mountaintops one of Elden Ring's most memorable regions. It is not the hardest area in the game, but it is the one that forces you to stop playing like an explorer and start playing like someone preparing for the endgame.
FAQ
What level should I be for the Mountaintops of the Giants?
Most players are comfortable between levels 100 and 120. Below 100, the difficulty spike becomes noticeable.
Is the Mountaintops harder than Altus Plateau?
Yes, significantly. Enemy health roughly doubles. The difficulty spike is intentional — the Mountaintops is designed to prepare you for the endgame.
Is Castle Sol required?
No, but it is highly recommended. Castle Sol contains the Haligtree Secret Medallion (Left), which is required to access the Consecrated Snowfield and Miquella's Haligtree.
What weapon level should I have before the Fire Giant?
A standard weapon should ideally be between +20 and +24. A Somber weapon should be +8 or +9. Under-upgraded weapons will make the fight significantly longer and harder.
Can I skip Castle Sol and still finish the game?
Yes. Castle Sol is optional for the main story. However, skipping it locks you out of the Consecrated Snowfield, Miquella's Haligtree, and Malenia.
Where is the Mountaintops map fragment?
From the Zamor Ruins Grace, head east along the cliff edge. The map stone is on a small plateau guarded by a few wolves.
What should I do before the Fire Giant?
Complete the following: upgrade your weapon to +24, explore Castle Sol, collect the Haligtree Secret Medallion, gather Smithing Stones [7] and [8], and finalize your build. Use the Elden Ring Build Planner to optimize your stat distribution.
Is the Haligtree optional?
Yes. The Haligtree and Malenia are entirely optional. However, the area contains some of the best loot in the game, including the Millicent's Prosthesis talisman, the Scarlet Aeonia incantation, and the highest rune yield from any boss.
What comes after the Mountaintops?
After the Forge of the Giants, progression leads to Crumbling Farum Azula, then to the endgame bosses. You can also explore the Consecrated Snowfield and Miquella's Haligtree if you obtained the Haligtree Secret Medallion.
What level should I fight the Fire Giant?
Level 100-120 with 40-60 Vigor and a weapon at +20 or higher. Bleed and frost builds have a significant advantage in this fight.